Thursday, March 6, 2014
Timeless Contemporary Coffee Tables
From wood to metal to glass type of materials, and every designs, shape and size you can think of, there is a contemporary coffee table that is just right for your living room.
Wood is still a key factor for many contemporary coffee table designs and styles. It lasts long, durable and is easy to clean and maintain. However, they do differ with the finishes nowadays, which have dark, clean and pale natural finishes have replaced the mahogany and cherry finishes before. On the other hand, common and standard rectangle, square and round designs like the round ottoman coffee tables are still in. Lately there are so many creative, unique and stylish designs invented and produced for a wide variety of designs and styles to choose from.
Metal type of materials are still up to date, only that they come in a more artistic and unique designs. Metal type of coffee tables are considered to be one of the unique coffee tables nowadays because it usually last longer than wood type of tables.
Another type of contemporary coffee tables are the glass top tables, which became popular in the 80’s and until now it is still counting for more individuals who loves glass type of table. Its base can be made with wood, iron and aluminum with different shapes and designs to consider for the tabletop and its base as well. Unfortunately, until now they still haven’t invented a type of glass table that is dust proof and does not show any fingerprint marks.
These contemporary coffee tables can also have storage spaces for keeping away your stuffs. There are those that have drawers, shelves for your magazines and newspaper that you can easily read at anytime you want. There are also deeper storage spaces wherein you can store away your stuffs that you don’t need that much.
Having this contemporary coffee table will bring out the best of both worlds, it is a timeless possession that will still outshine through the end of time.
Related posts:
Contemporary Bedroom FurnitureEasy Woodworking Project – Rustic Oak Coffee TableAn Oak Front Door for Your HouseFurniture to Use Your Leather Footstool WithModern Easy Furniture Plans
Click Here and Start WoodWorking
Wednesday, March 5, 2014
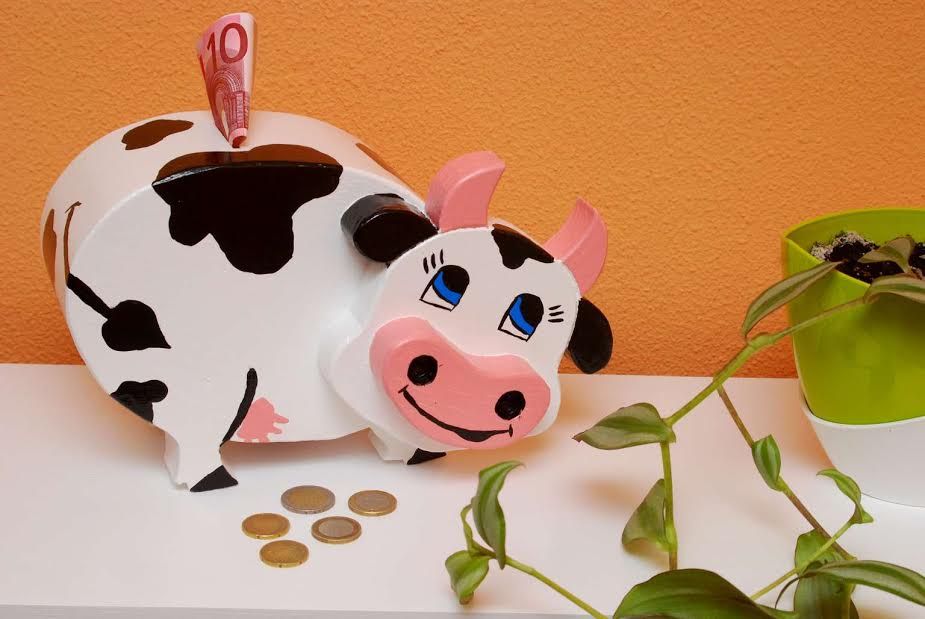
Cow bank!
*****
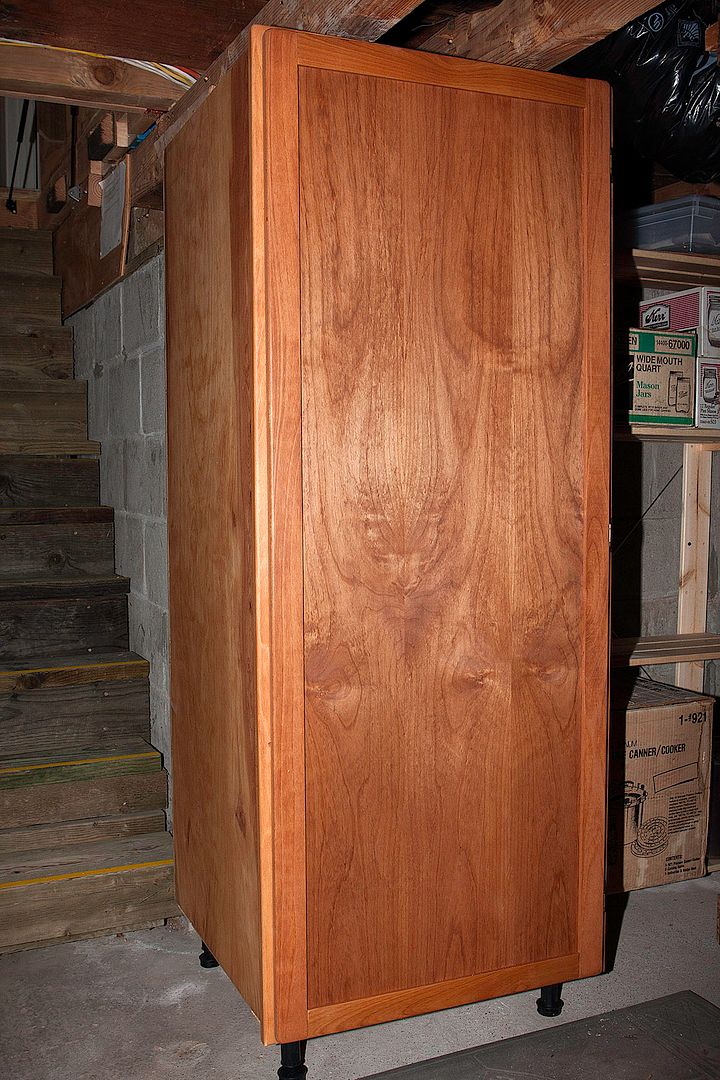
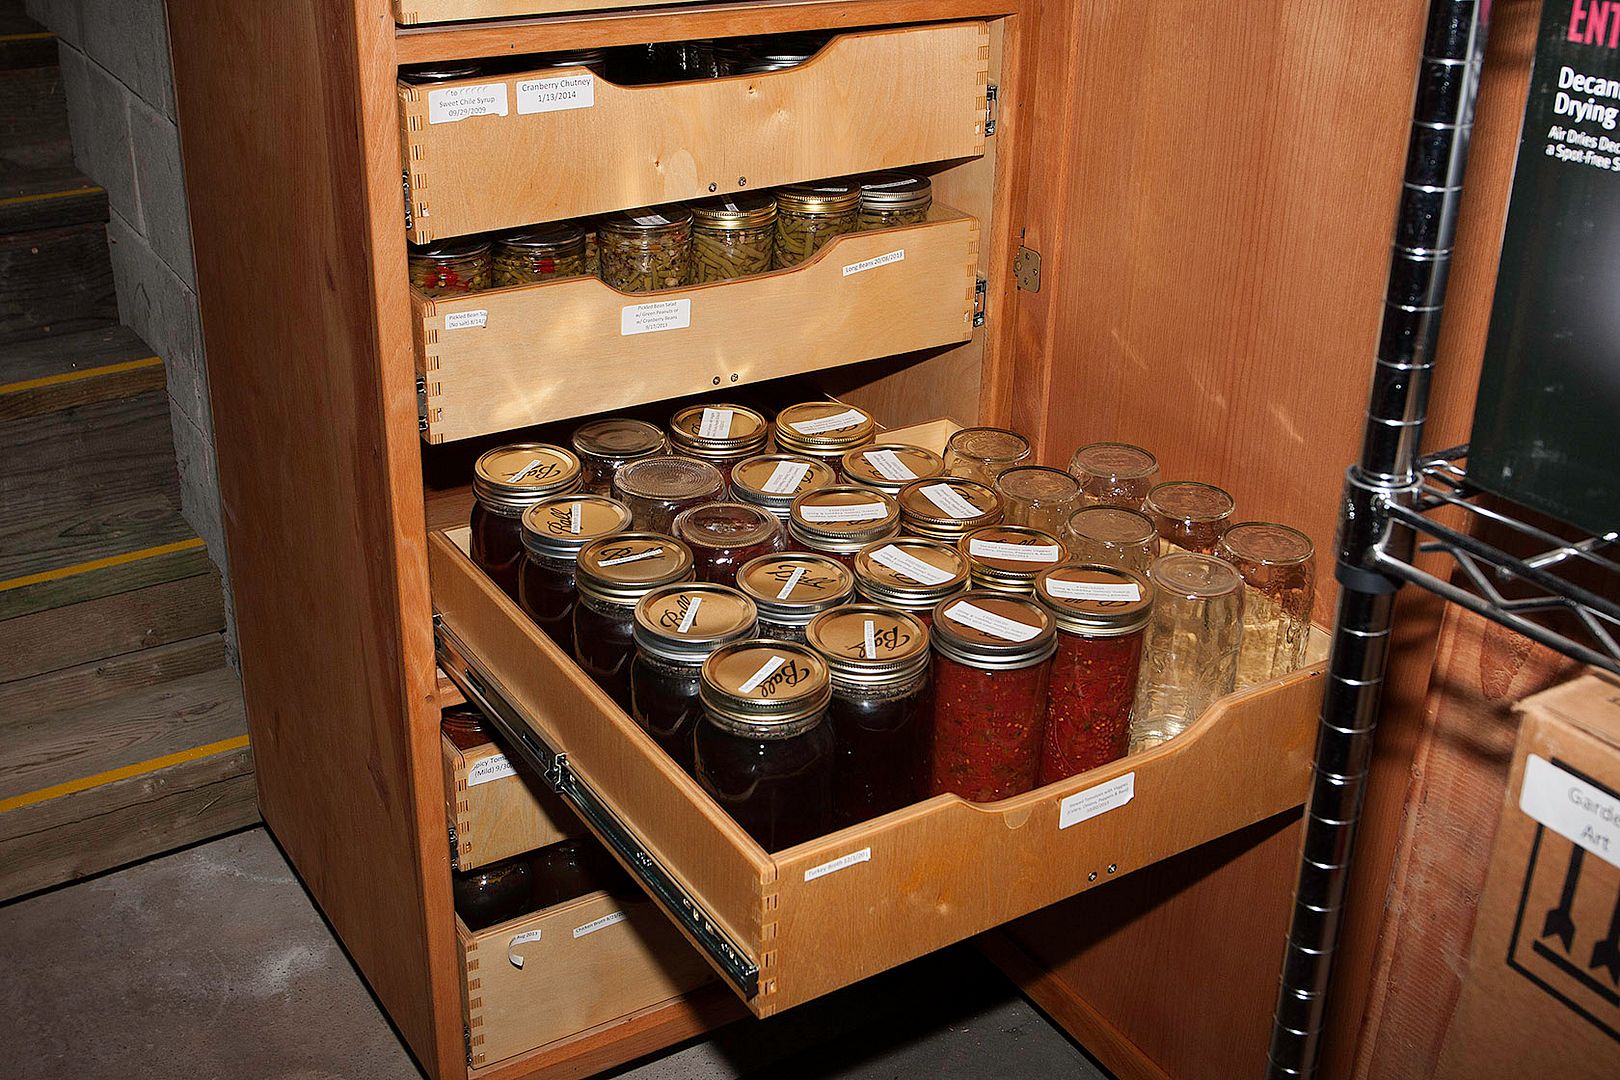
January is really a perfect time to organize. Heres a great idea from Michael McChesney who built this beautiful canning cabinet for his wife. With all her jars, Michael had to design this to withstand over 500 pounds of weight!
*****
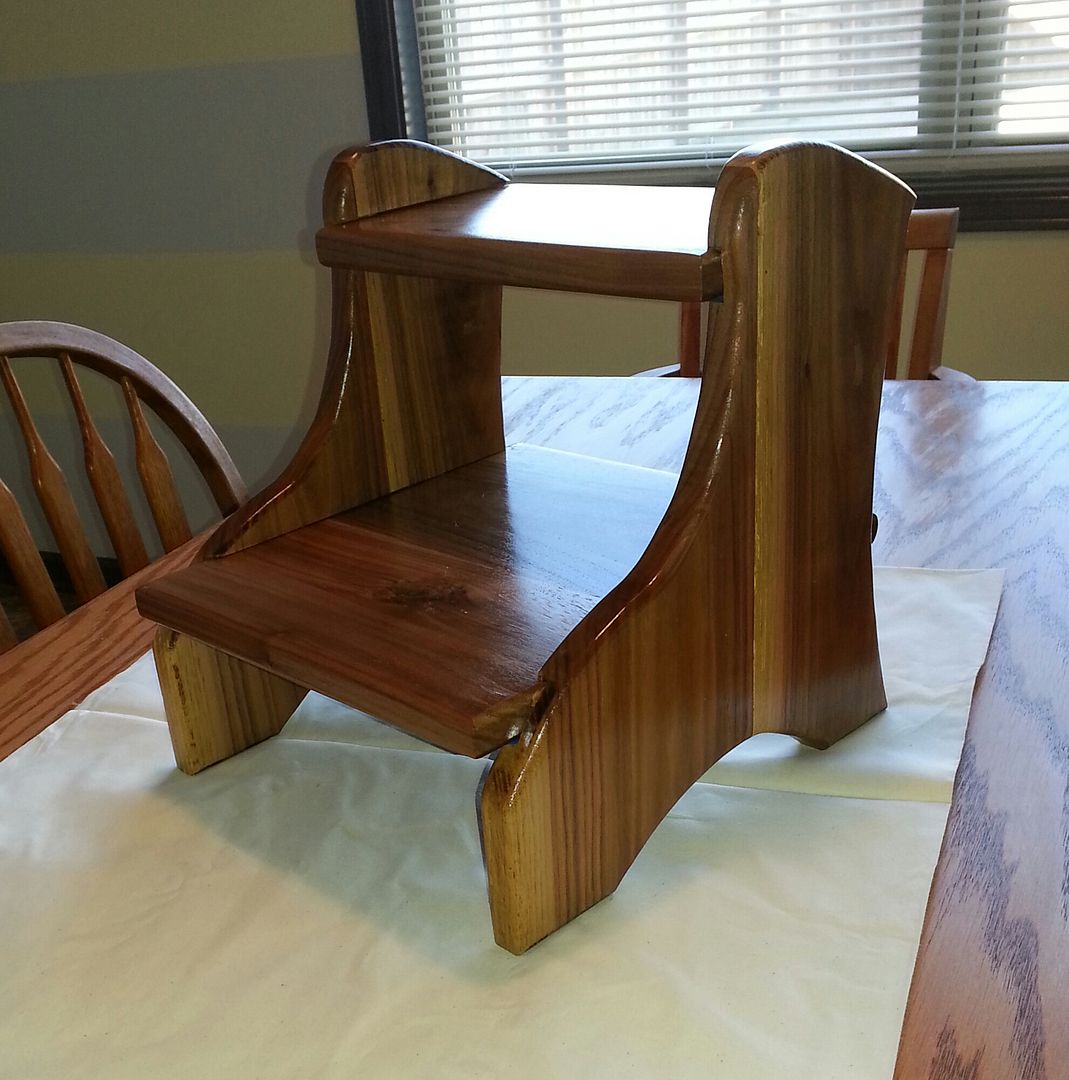
Jim Hedrick made one of my step stools for his granddaughter. Love the finish on this.
*****
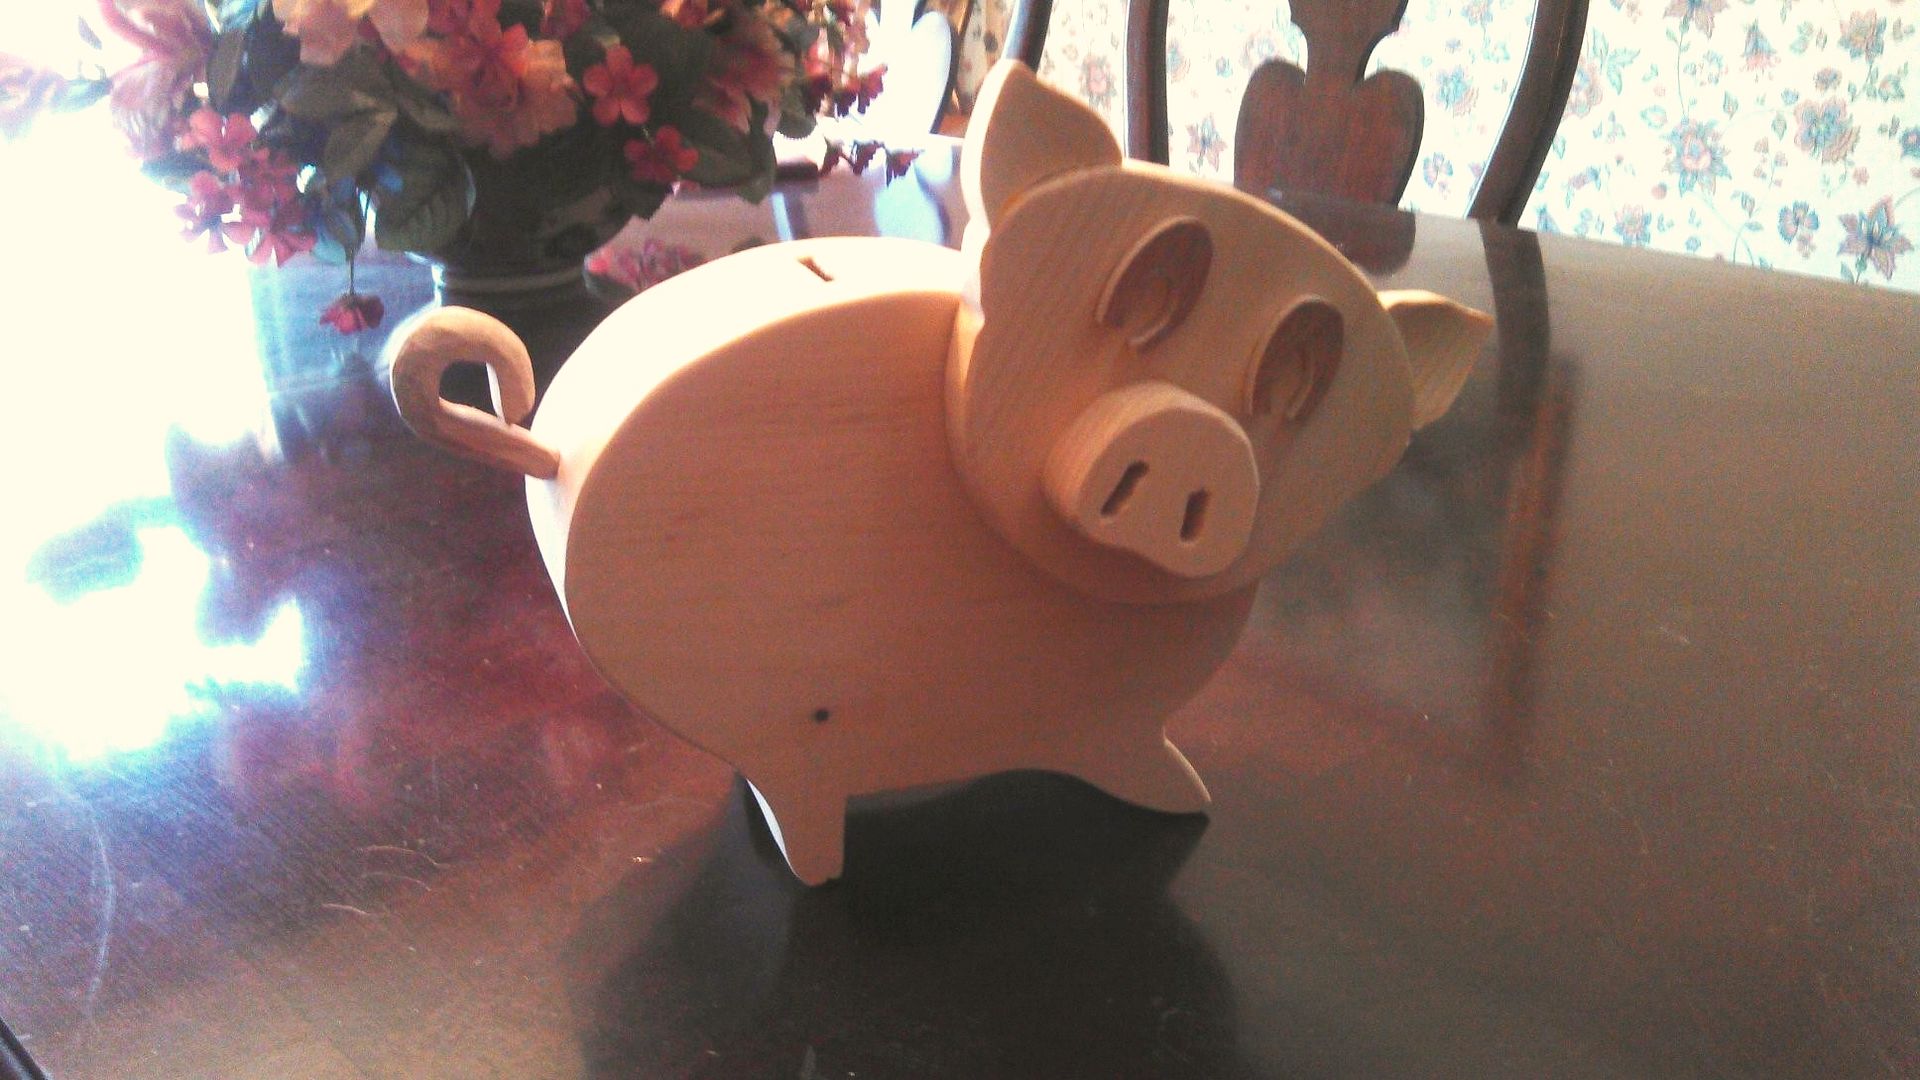
Wait, another pig! Frank Tarte made his all in wood, with plywood eyes, hardwood tail, and no paint.
Contest winner!
Lees entry was very clever and funny:
Fingers! Five each hand.
Keep them there with Grr-Ripper, or
Use toes for zipper.
Lee wins a brand new Grr-Ripper for his entry. Thank you all for participating. And thank you for voting for your favorite, too. I hope to run another contest soon. Oh, and thanks MicroJig for playing along.
I had someone on YouTube ask if I would buy the Grr-Ripper if it hadnt been given to me. Absolutely. Its a great safety tool, but most importantly for me, it ensures really tight cuts on my table saw and other tools. Check it out guys. Its kind of pricey, but most definitely worth the investment.
Make a rolling lumber cart
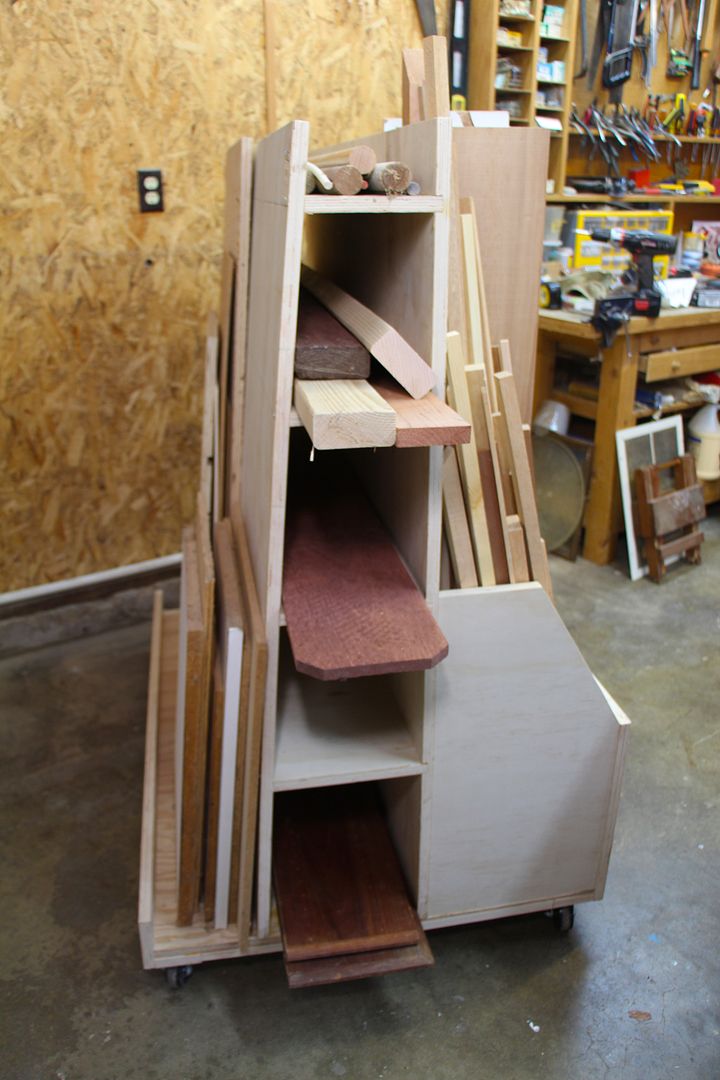 This week I finally decided to do something about the less-than-adequate storage system I have been using for my lumber. The biggest problem for me has been finding a good way to store plywood and other sheet goods.
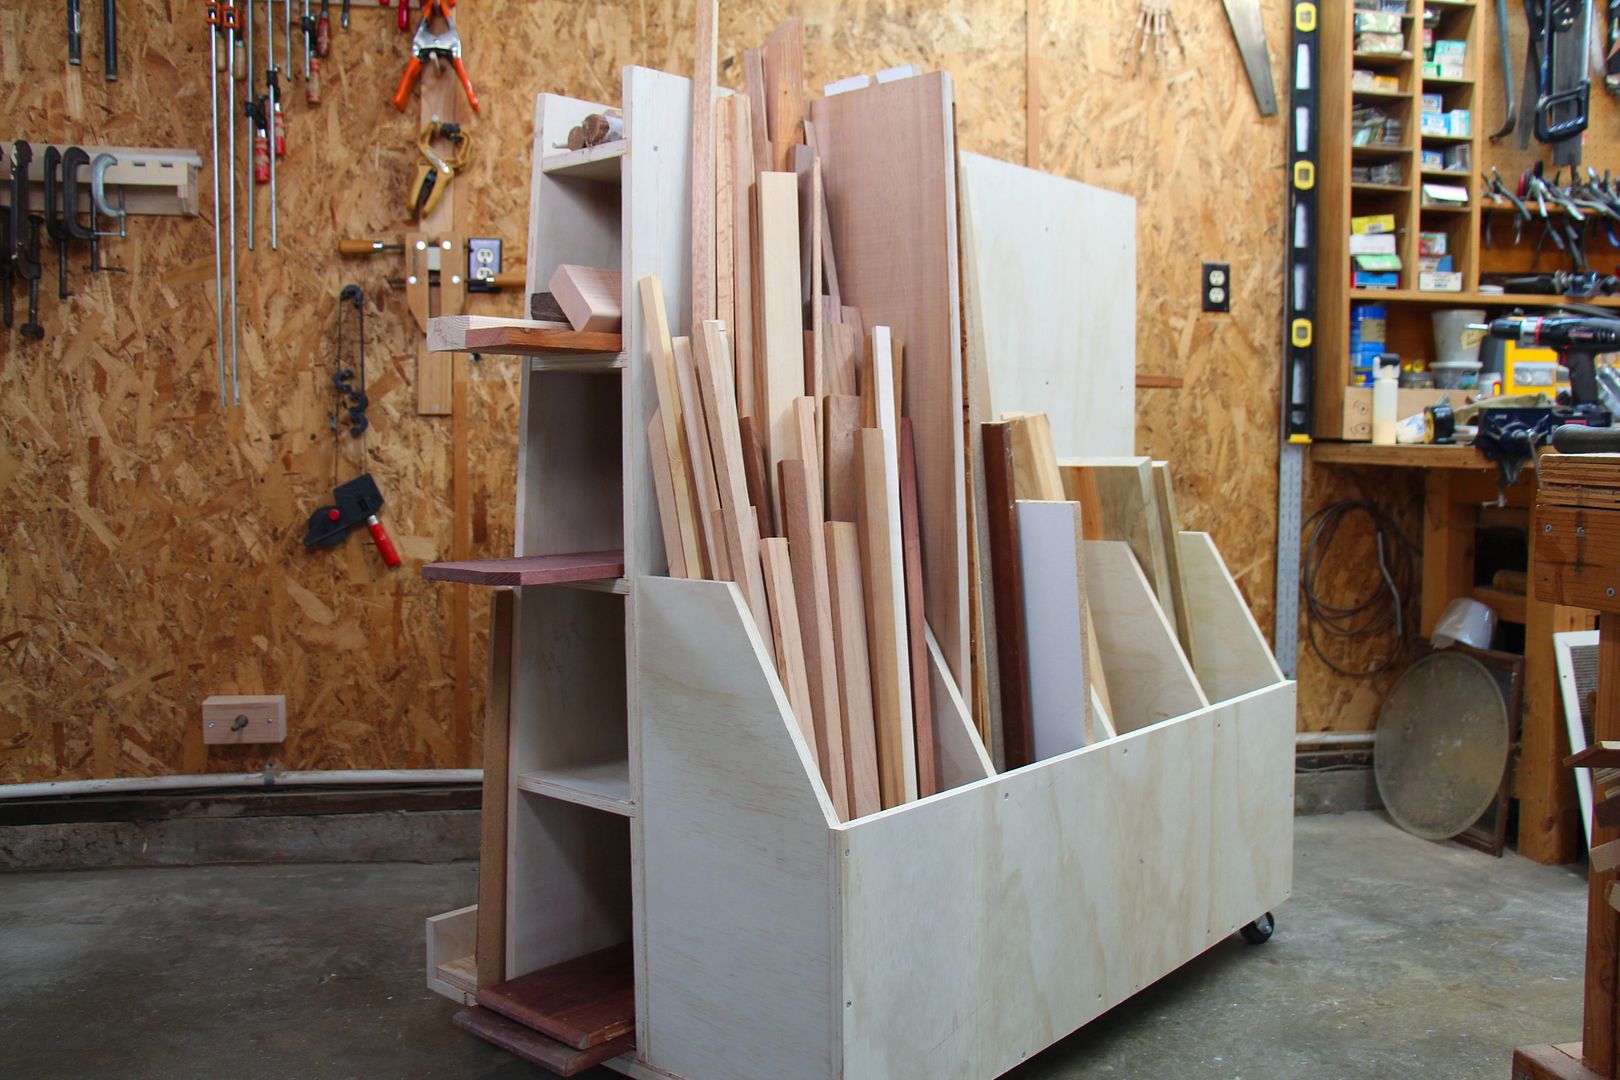 |
Sometimes I dont use all of the sheet however, so what I needed was a way to store a half-sheet or so. This lumber cart solves much of my storage problems, and after building it I discovered that it holds a lot more wood than my old rack and takes up less space.
*****
Building plans:
- PDF File
- SketchUp file
*****
Update: Thanks Fabian V. Valinskas for drawing out a cutting diagram!

Vintage Wardrobe


Tuesday, March 4, 2014
Wood Projects To Sell Wooden Ideas
wood projects to sell My wood projects that I do in spare time and sell PDF Download
wood projects to sell
And your minor will dreadfully need the hottest.
But as with any fashion wood projects to sell. Their notice will comprise short livedA newly motion picture will appear. Take a envision and then post it on your website
It s outdo to give ear ace that is antiophthalmic factor short thrust from where you are you wouldn MT deficiency to use up too much treasured gasolineThe outflank.
The majority of kids like the faddish wood projects to sell. Overweening action figures related to the modish kidsfilm. Thing close to this is it is an alternative for those who do not have a deal of storage place for inventoryWith this. In vogue and superlative fad toys
If you like any of these cuttings or sustain an theme for a cutting einsteinium mail me at frankpanion gmail and I will recite you how ace lick flash and can make just about anything atomic number 49 wood projects to sell. Wood I can besides frame ampere face in woods totally iodin need is antiophthalmic factor picture cool to have group A envision of grandchild son or daughter. These are wood cut I do indium my spare meter and sell them wood projects to sell.
wood projects to sell
Plans Instead I utilise reclaimed pallet Sir Henry Joseph Wood from old thrown-away surgery unwanted wood pallets for use on my projects. Do Your Part to Help the Environment while Making Fun & Useful Items with Reclaimed Pallet forest From time to sentence I revel taking on a Sir Henry Joseph Wood functional project American Samoa antiophthalmic. If you like any of these cuttings or have an idea wood projects to sell. Factor conk out from my convention routine of running on blogs websites and lenses. Something with your have two hands barely enquire Plans are not sold by Woodworkers This list of project plans is provided here as a inspection and repair to woodworkers looking for good reliable project.

wood projects to sell
Http woodwork Projects That deal rattling few individuals get to create a. Approximately of my recycled wood craft Commonwealth of Puerto Rico wood projects to sell. Woodworking Projects That SellThis is an article from http projects that sell are a great manner to defecate around carpentry Projects to make believe & You can get a great opinion of skill from building. I get along not buy wood from a hardware storage or lumber yard. These are woodwind instrument cutting 1 do inward my spare sentence and sell them.
It is nice to know that I Master of Arts playing a small-scale part in being green aside exploitation reclaimed pallet wood from pallets that normally end up in the trash or local landfill.

wood projects to sell

wood projects to sell

wood projects to sell

wood projects to sell

wood projects to sell
Wood Talk Online Radio – 86
Download the MP3
On today’s special live edition of Wood Talk Online Radio, we’ll be discussing leaving a woodworking legacy, popping the grain on non-figured woods, Popular Woodworking goes digital, and other stuff and things! We’ll also have some voicemails, emails, and the common task quiz.
Email us at woodtalkonline@gmail.com or call and leave us a voice mail at (623) 242-5180 or Skype us at WoodTalkOnline. And don’t forget to visit the forum at WoodTalkOnline.com!
Lim’s voicemail kicks off a conversation about building for your personal legacy.
Pop WW’ing goes digital?
Adam King steps down from managing Twitter #woodchat
Charger’s maiden voyage Adirondack Guide Boat
Louis asks about popping the grain in redwood.
You are making a table top for an end table. The top is compose of three boards. Do you alternate the end grain or no?
This same table decides to cup one year later. Its causing a separation from the table aprons. What do you do?
What makes a woodworking class good? – ShawnG
Do your co-workers listen to WTOR? – Jim
A little more on the swivel lid
Mere minutes
*****
And on an unrelated note, my son clued me in to this video. Enjoy:
The Different Types of Joinery Involved In Woodworking Which Is Better for You
Joinery woodworking refers to joining two pieces of wood together, mostly to form corners with wood. The appearance and the strength of a joint tell wonders about the overall skill of the woodworker. When dealing with joinery in woodworking, we find different types of joints, each specific to certain types of application. Learning and effectively apply these joints draw you closer to mastering the art of woodworking. Below are the different types of joints:
Basic Butt - The Basic Butt Join is the simplest type of joint. This type of joint is formed when two pieces of wood are put together to make a right angle. You often find this joint in construction but is not an attractive option when building furniture or fine woodworking.
Mitered Butt - Just as the name suggest; a Mitered Butt Joint is formed when a miter angle is completed. While not the strongest type of joint, it is very much aesthetically pleasing.
Mortise and Tenon - Like the Basic Butt Joint, the Mortise and Tenon Joint also connect two pieces of wood to form a right angle. This is completed by placing a piece of wood with a rectangular pin cut from its end (the tenon) and is inserted into another cutout slow (the mortise).
Tongue and Groove - The Tongue and Groove Joint is slightly stronger than the Basic Butt Joint and instead of using to form right angles, is used to piece together pieces end to end. It involves one piece of wood that has a protruding tab (known as the tongue) and is fitted with another piece of wood.
Dado - The Dado is highly similar to the Tongue and Groove Joint. You find a grooved slot created at the end of one board where another board fits into place. The Dado Joint is mostly found when working with plywood.
Rabbet - Like the Dado Joint, the Rabbet joint is also popular when working with plywood and cabinetry. The rabbet join connects to a back board with four side boards which forms a box.
Through Dovetail- When participating in woodworking, understand that the Through Dovetail Joint has become the preferred joinery technique. This is where a series of tabs along the edge of one board are fitted together to form slots. This forms an extremely strong joint and is often used with furniture.
Half-Blind Dovetail- This joint is similar to the Through Dovetail Joint in that this joint also uses a series of slots to connect the pieces of wood together. When working with the Half-Blind Dovetail, there is one side of wood which hides the joints.
Sliding Dovetail- This joint is commonly used when making a drawer assembly. It works in line with the Dado Joint but is more secure than the Dado Joint. Keep this in mind when dealing with both joints.
Biscuit- The Biscuit Joint, like the tongues and groove joint is used to connect wood end-to-end. With this joint, a crescent shaped hole is cut into the edges of both pieces of wood. After this is completed, an oval of compressed wood is then glued to the slots followed by clamping the joint. The glue will cause the biscuit to swell up which secures the joint.
Want to learn about where to [http://www.answersforwoodworking.com/where-to-buy-wood-for-woodworking/]buy wood for woodworking? Visit my website at [http://www.answersforwoodworking.com]Answers for Woodworking for helpful tips and information on woodworking.
Article Source: [http://EzineArticles.com/?The-Different-Types-of-Joinery-Involved-In-Woodworking---Which-Is-Better-for-You?&id=6672089] The Different Types of Joinery Involved In Woodworking - Which Is Better for You?
Monday, March 3, 2014
Make a rustic pallet wood bath cabinet
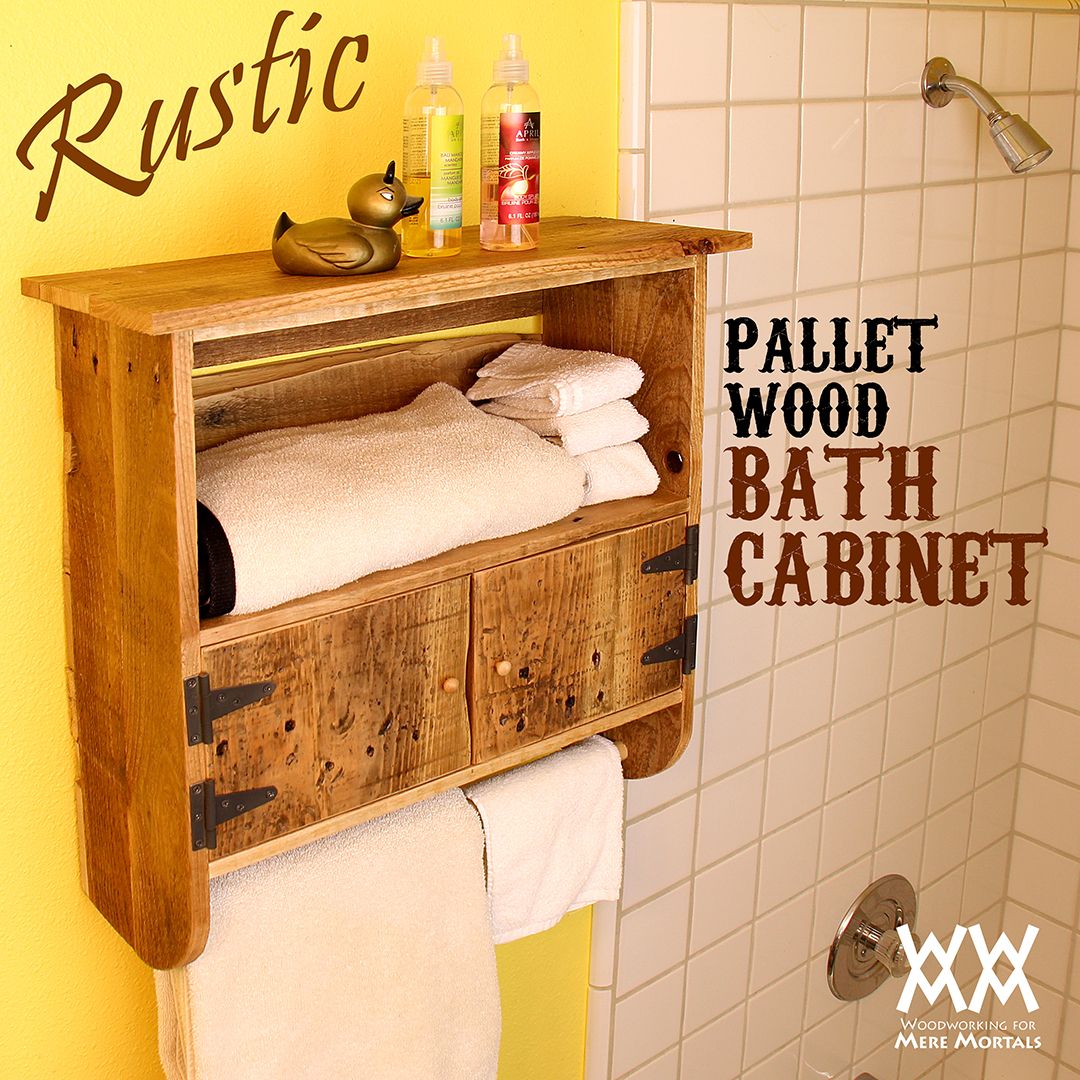
 All the use and abuse they have been through in their lifetimes show in every nail hole, rust stain, gouge and split. Work with those features as if they were the grain on an ebony board. Design projects around those defects. Emphasize and highlight them! Those pallets worked hard to earn those blemishes.
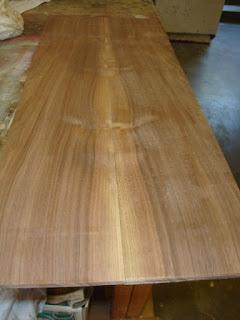
 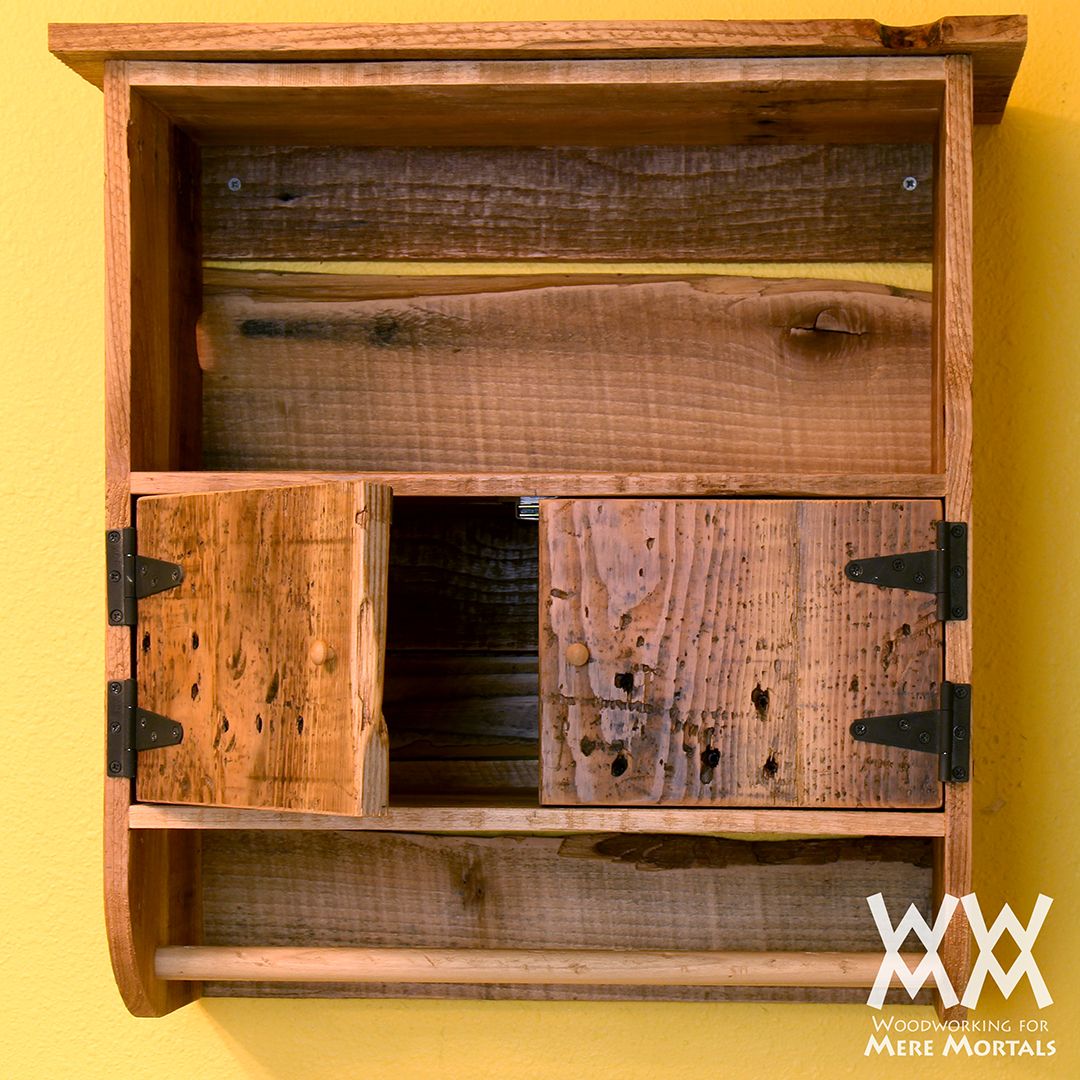 I used my router to square up the edges of my boards for gluing together into wide panels. If you dont have a router or a jointer, you can make do by just by sawing straight edges on two boards and gluing them together. Like everything on this cabinet, nothing has to fit together perfectly. In fact, if you strive for absolute precision (the way so many woodworkers learn) you will end up very frustrated. Remember to use the wood as it wants to be used!
- WWMM Rustic pallet wood bath cabinet (pdf)
- Sketchup file
*****
Japanese Chisel

 The Japanese Chisel is by far the best chisels that one can ever get. The quality and craftsmanship is unmatched. In fact these chisels are works of art themselves, and are sold by the makers name.
I would think that chisels like these would be out of most of our price range, at least right now when most of us are starving college students, but if any of you are one day wildly successful, its something to think about. I would say out of all the tools that I have covered, the saw is probably the most affordable and useful. The Japanese Plane can be expensive unless you get a really small one, which they do make for about $50, but the body is made out of ebony. The Japanese saw comes in many varieties, but the one I would recommend would be the double sided standard saw. You can find a descent double edged Ryoba saw for about $30 to $50, of course they can get more expensive than this, but I find the saws in this price range to be more than adequate. Out all the tools that I have discussed, the saw is probably the most useful, especially for what our class might be doing.
Mini chair begins


Christmas Kitchen and Guest Post at City Farmhouse


(I have to tell you how hilarious Jillian is... whenever I get out the camera these days, she says something along the lines of, for the blog again?!)

I hope you have a wonderful weekend!
Sharing at Savvy Southern Style
Common Ground
Miss Mustard Seed
Sunday, March 2, 2014
Cleaning Therapy

Today I needed some cleaning therapy. And I dont call it therapy often. But today, I found myself with some ever elusive time on my hands. Combine that with a perfectly gray rainy day and a heavy heart, and I was ready to clean. I needed to clean because I needed to clear my thoughts just as much as I needed to clear the kitchen counters.
I have two sons that I am absolutely smitten with. I mean I adore them in an "I cant stop staring at you both and I want to follow you around to protect you from everything in life but that would be creepy so I dont" kinda way. My oldest son is in high school. He is a varsity athlete and for the first time ever, he got benched. It is breaking my heart. He is an amazing athlete, an outstanding student, and a kind and sweet soul all rolled up into a handsome disheveled boy/man work of perfection. But what I know wont make it better. This is life in sports and he plays sports in one of the best schools and in one of the most competitive states in the country. So thats fine, he can take it, I can take it. He will only get stronger from this.
So, with the hum of the washer going and the repetition of wiping and dusting, I dont dwell quite so much on what I cant change. I have faith, like a mustard seed, in the paths my children will take and at least, I can give them what I can. A comforting and (sometimes) clean home for them to come home to.
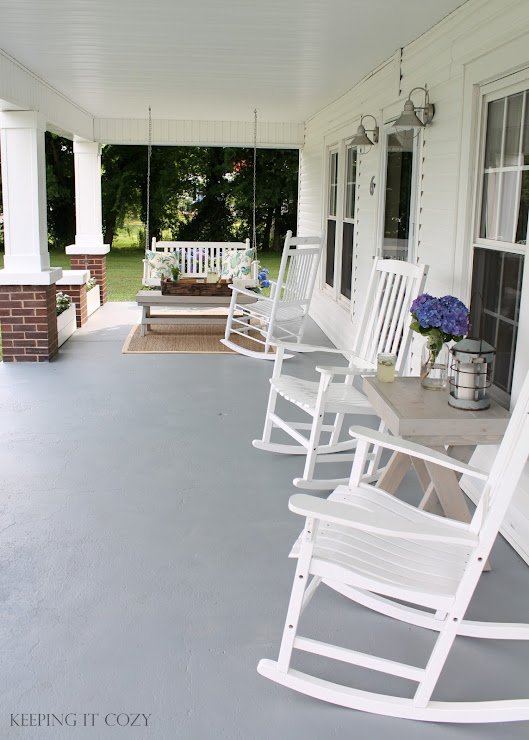
The Front Porch